Almost two months ago, my Apple Studio Display started malfunctioning. It worsened up to the point it became unusable.
At first, it started loosing video signal intermittently (you’d hear the “unplugged” macOS sound). I’ve noticed that if I hooked up my MacBook Pro directly to wall power, I could get around this.
Unfortunately, over few weeks, it stopped working altogether, without further notice.
Since I live in Mars, there’s no official Apple Store here, and the premium resellers mentioned it’d take months to get the spare parts (and the cost would be the same as a new display), I’ve decided to fix it myself.
Diagnosis
Unfortunately, Apple Service Utility was useless, due to my inability to pick up the device via USB (it simply stopped being detected by macOS).
An educated guess pointed directly to the logic board, and potentially the USB C controllers: there really isn’t much more in the display, other than the power supply.
So I’ve placed an order on the Self Service Repair Store, linked directly on the Apple’s website:
- Logic Board
- 2x USB C Controllers
- Tools: Screwdrivers, Opener, Glue, and a roller tool to help closing it!
Total bill went up to $ 570, with delivery and taxes included.
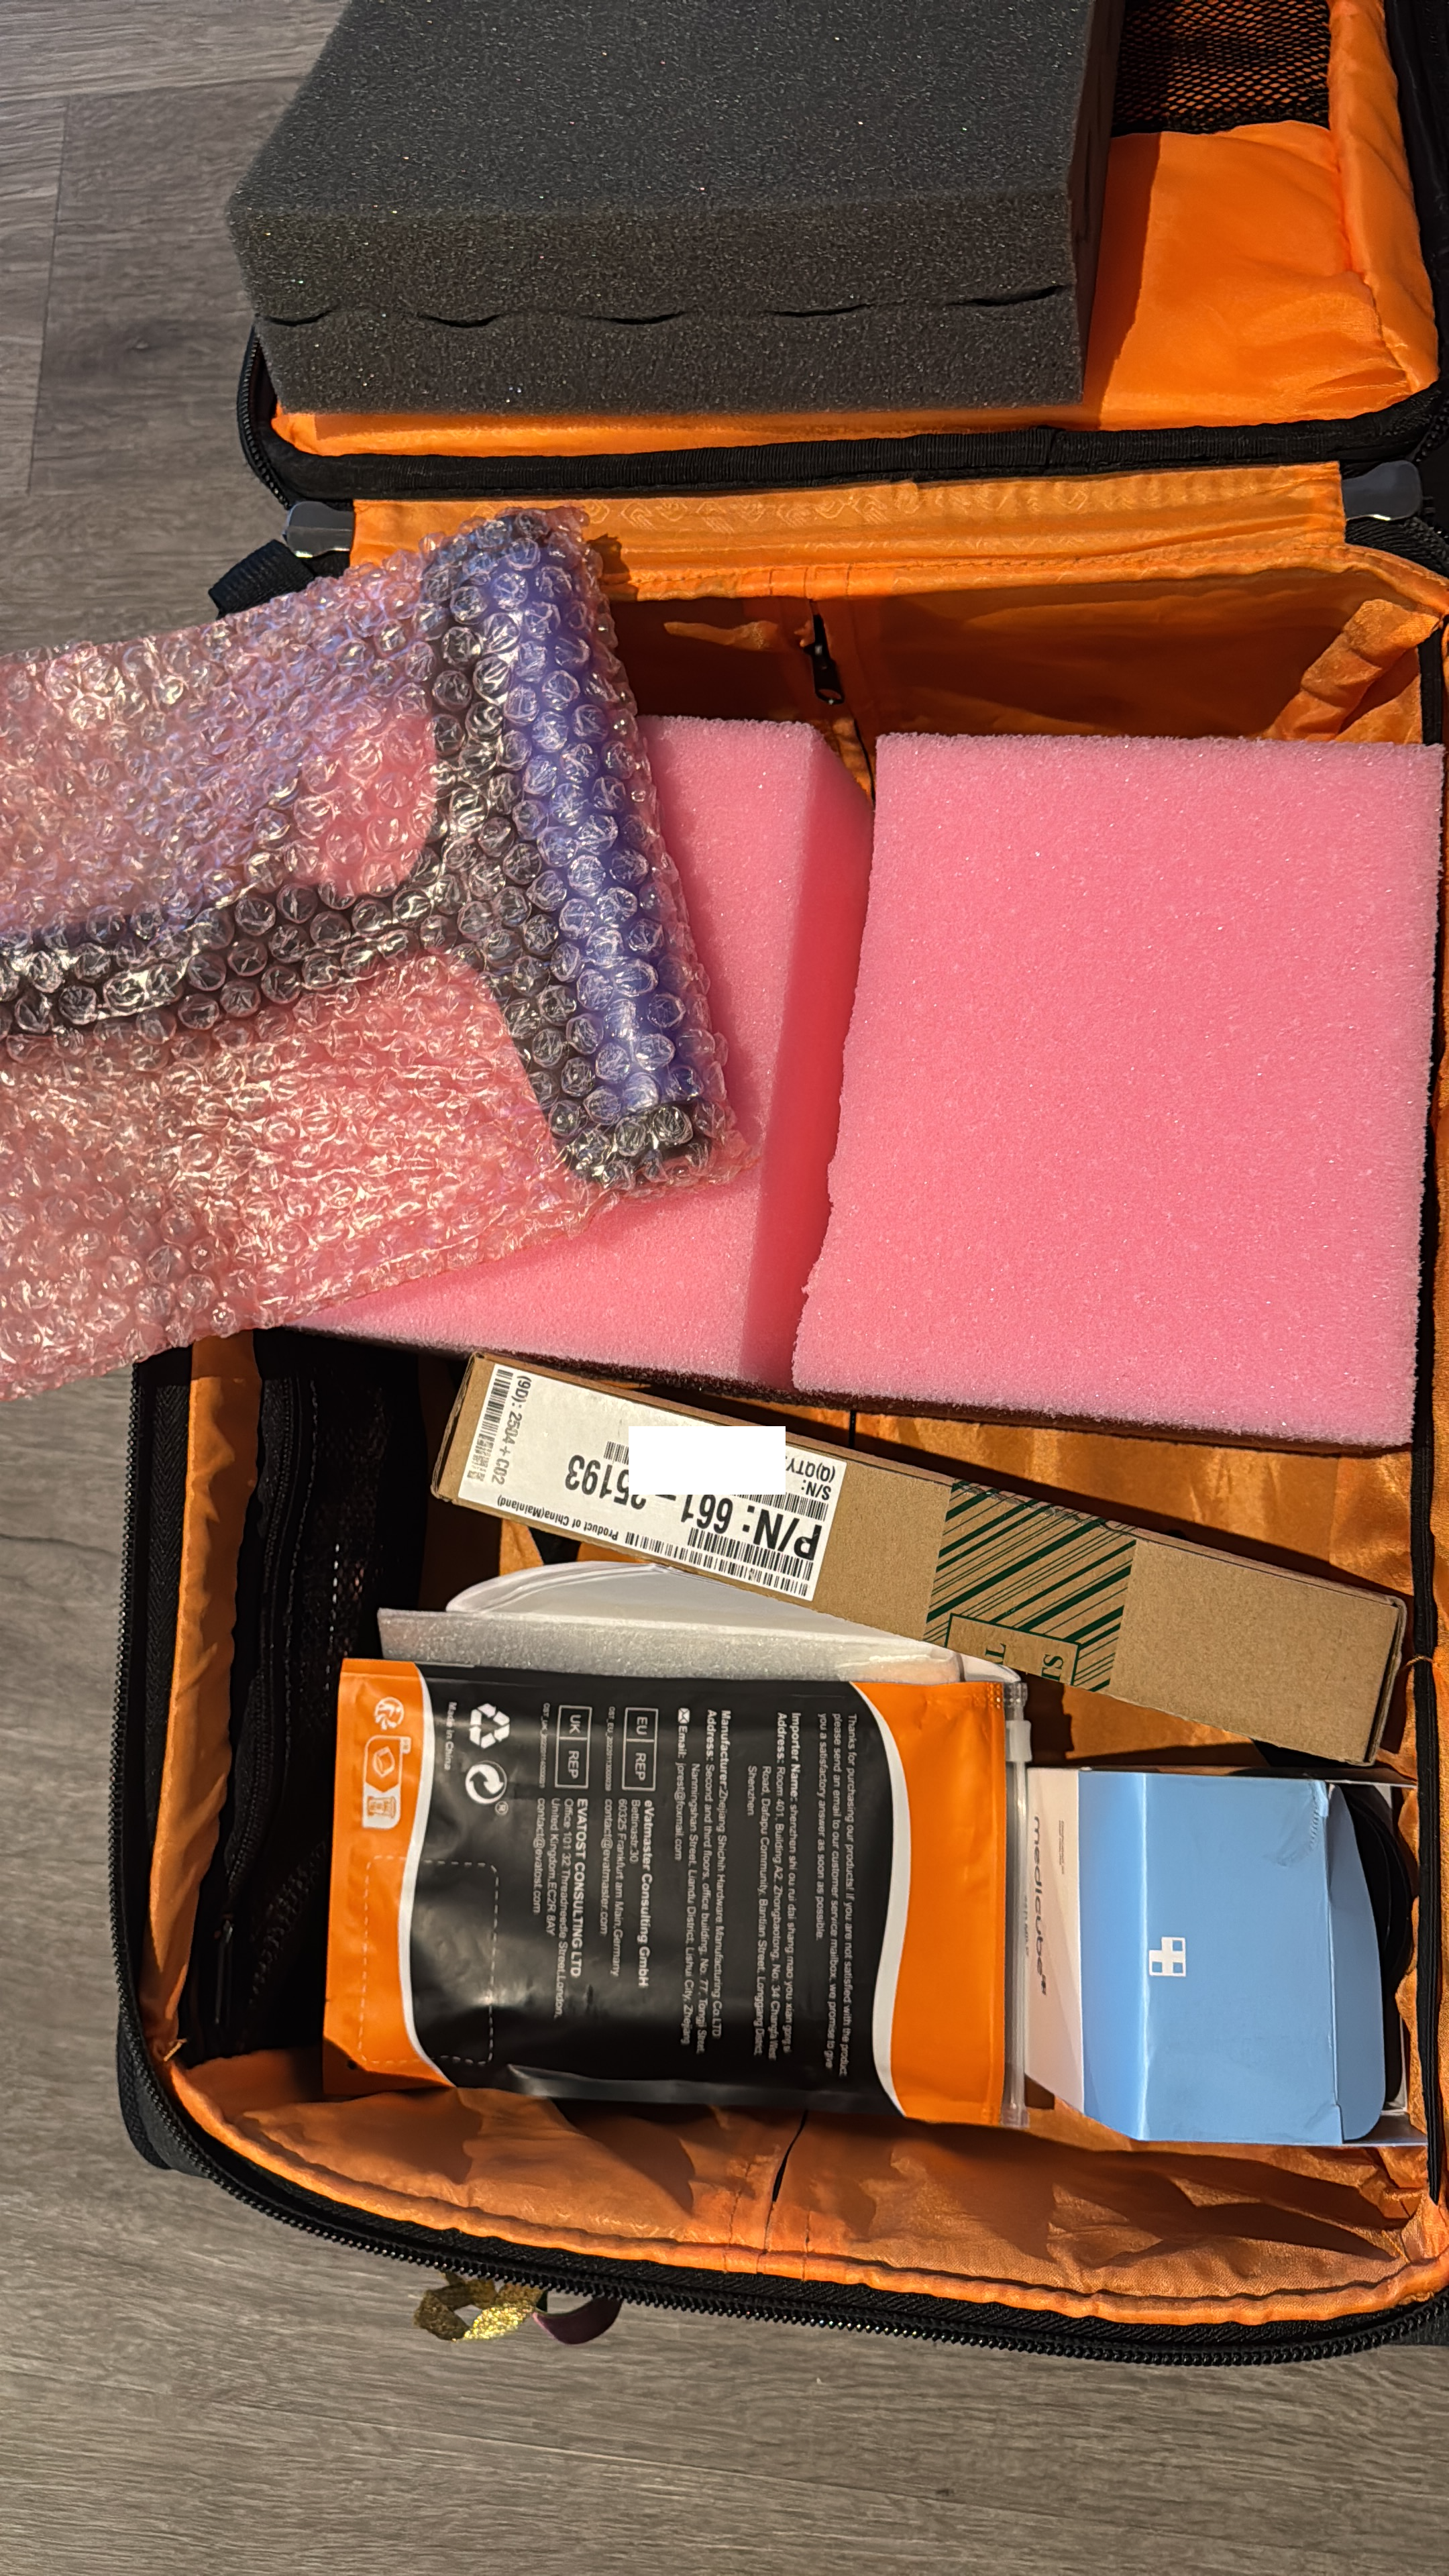
If you’re wondering, this is how ridiculous this looks like in a carry on. Yes, I also got the Electrostatic Safe Foam, required to close up the display.
Potentially you can do the same with two stacks of books, I literally had no idea the dimensions of these!
Opening it up
In order to open the display up, one of the tools that comes with the kit looks like a pizza slicer.
I’ve been unable to record the process (I was the only one at home!), but the end result looks like this:
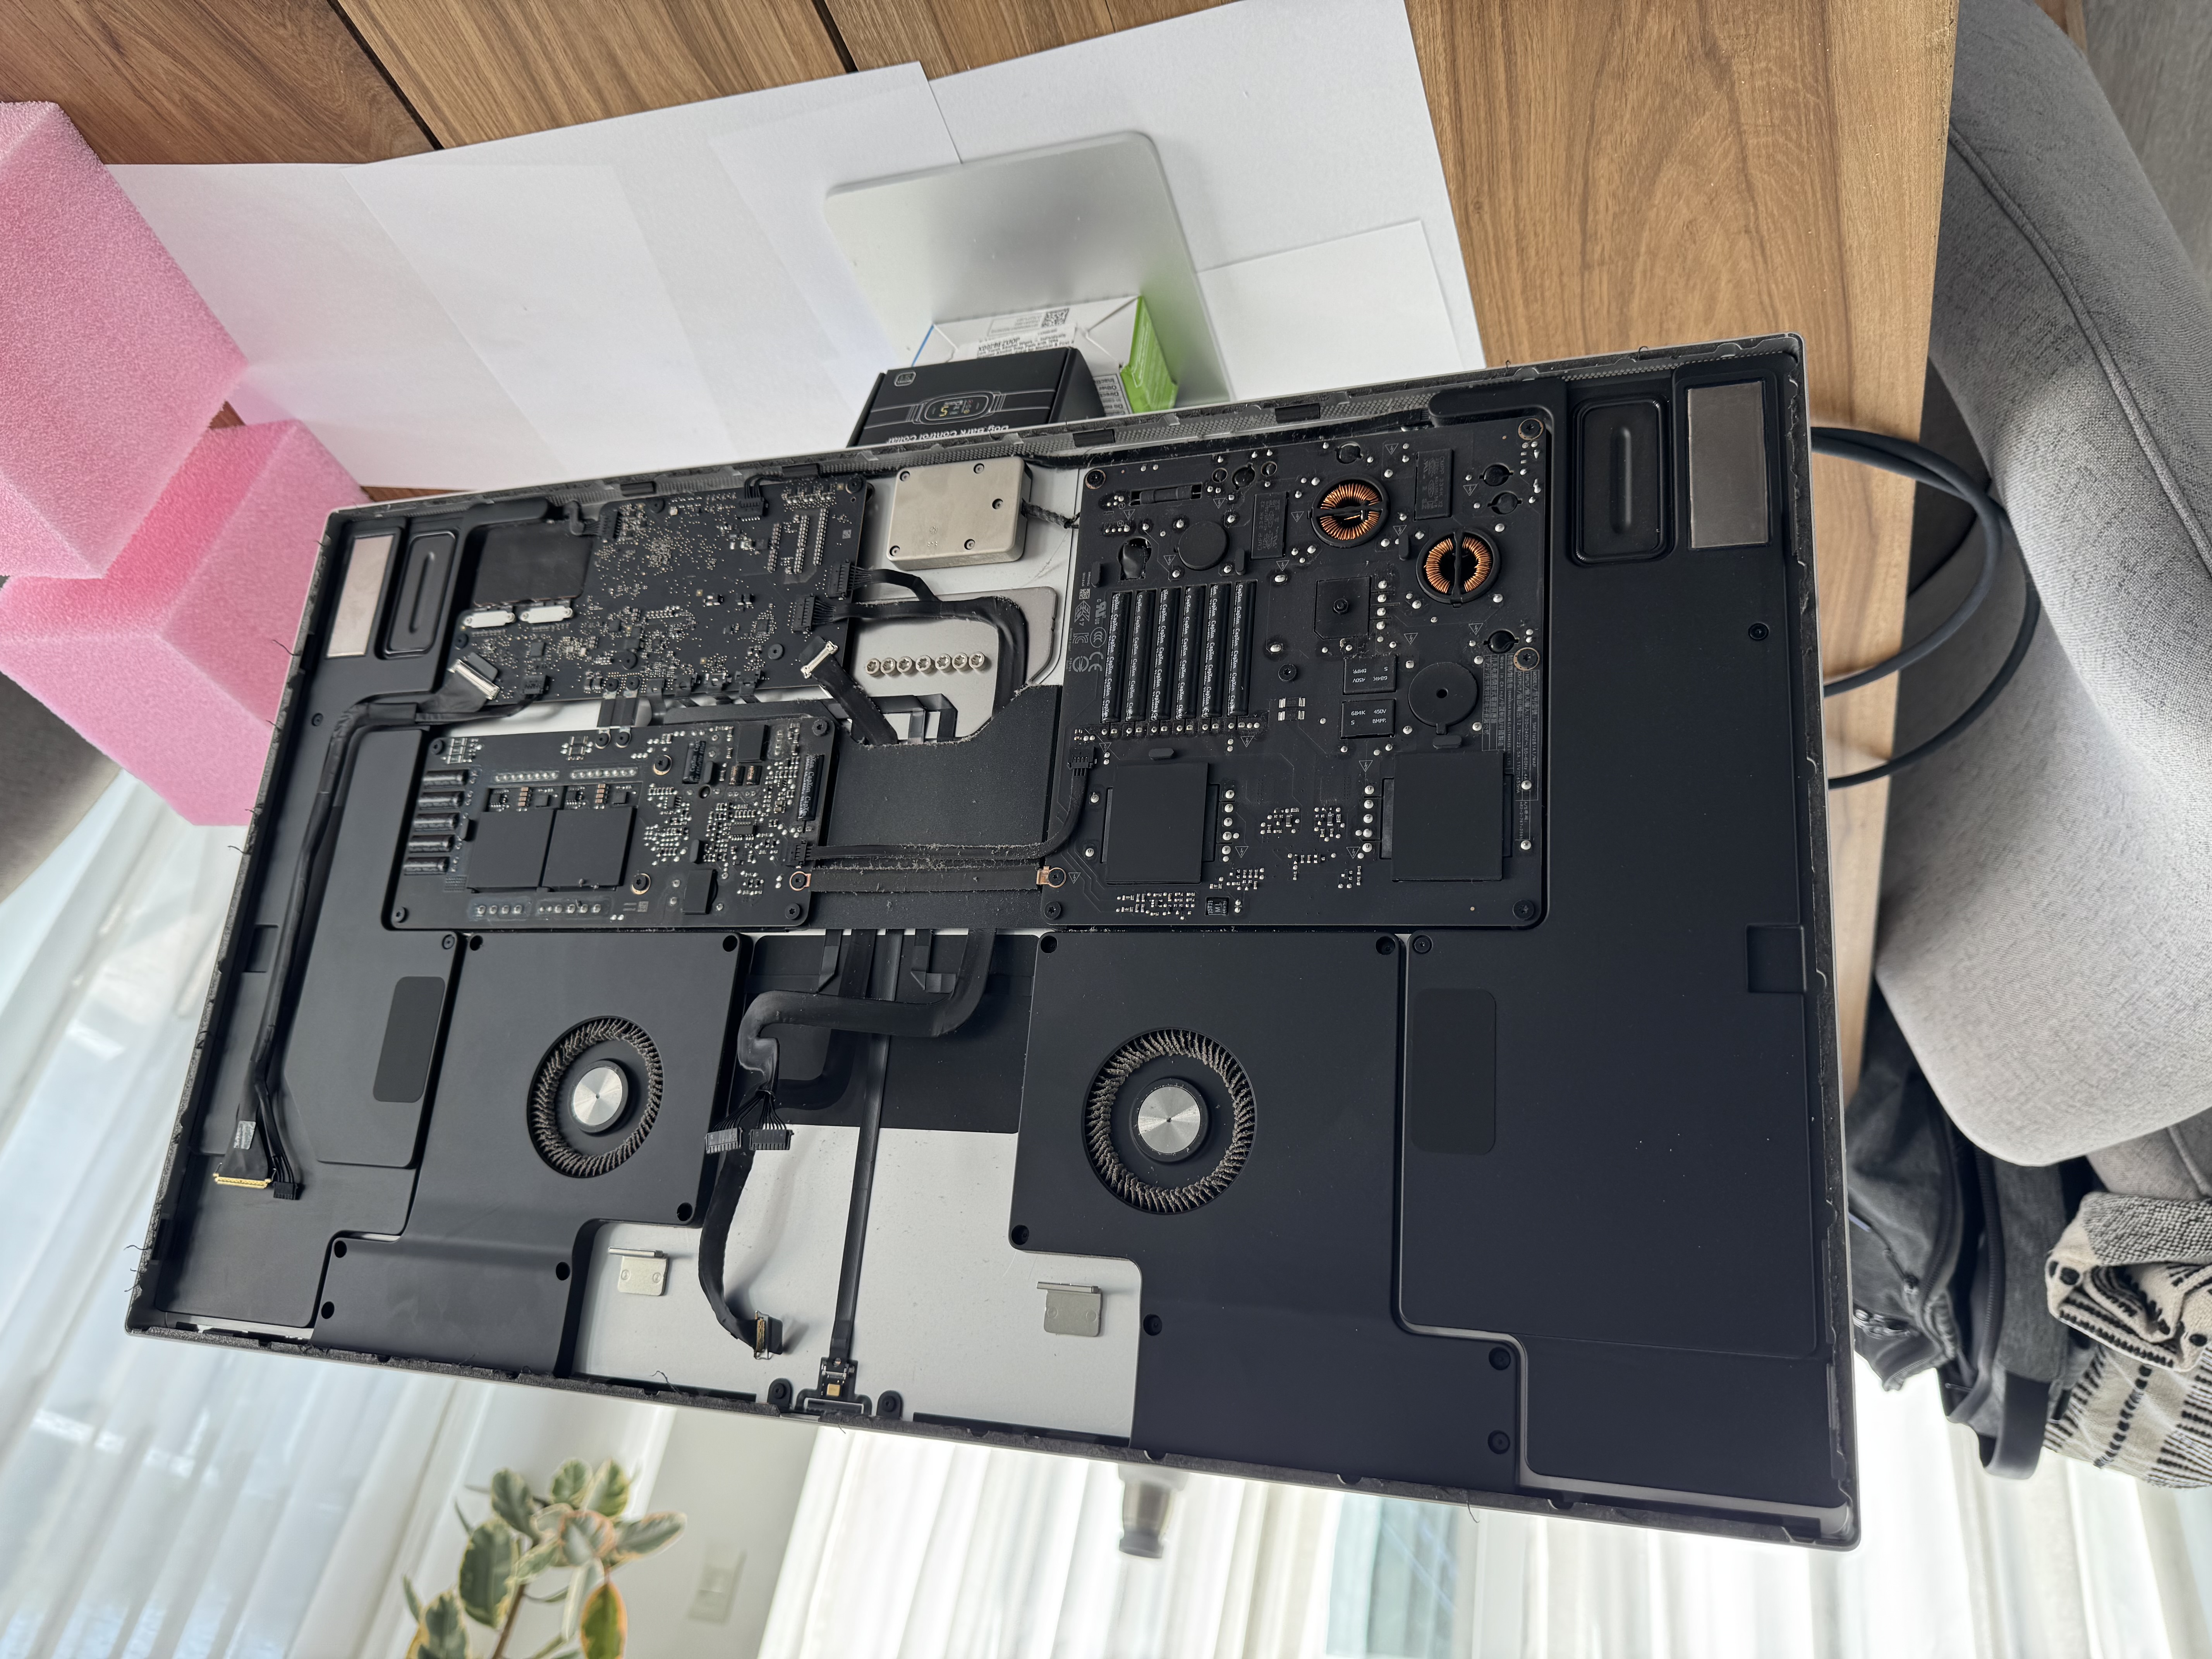
Interesting note is: the coolers gather dust. Quite a lot.
I wonder if, over enough time, the coolers may get stuck altogether, and every device out there needs to be opened up.
For the record I find no reason why Apple couldn’t just use 6x screws. Cleaning up the glue set be back few hours, and it wasn’t a fun process, per se.
New Boards
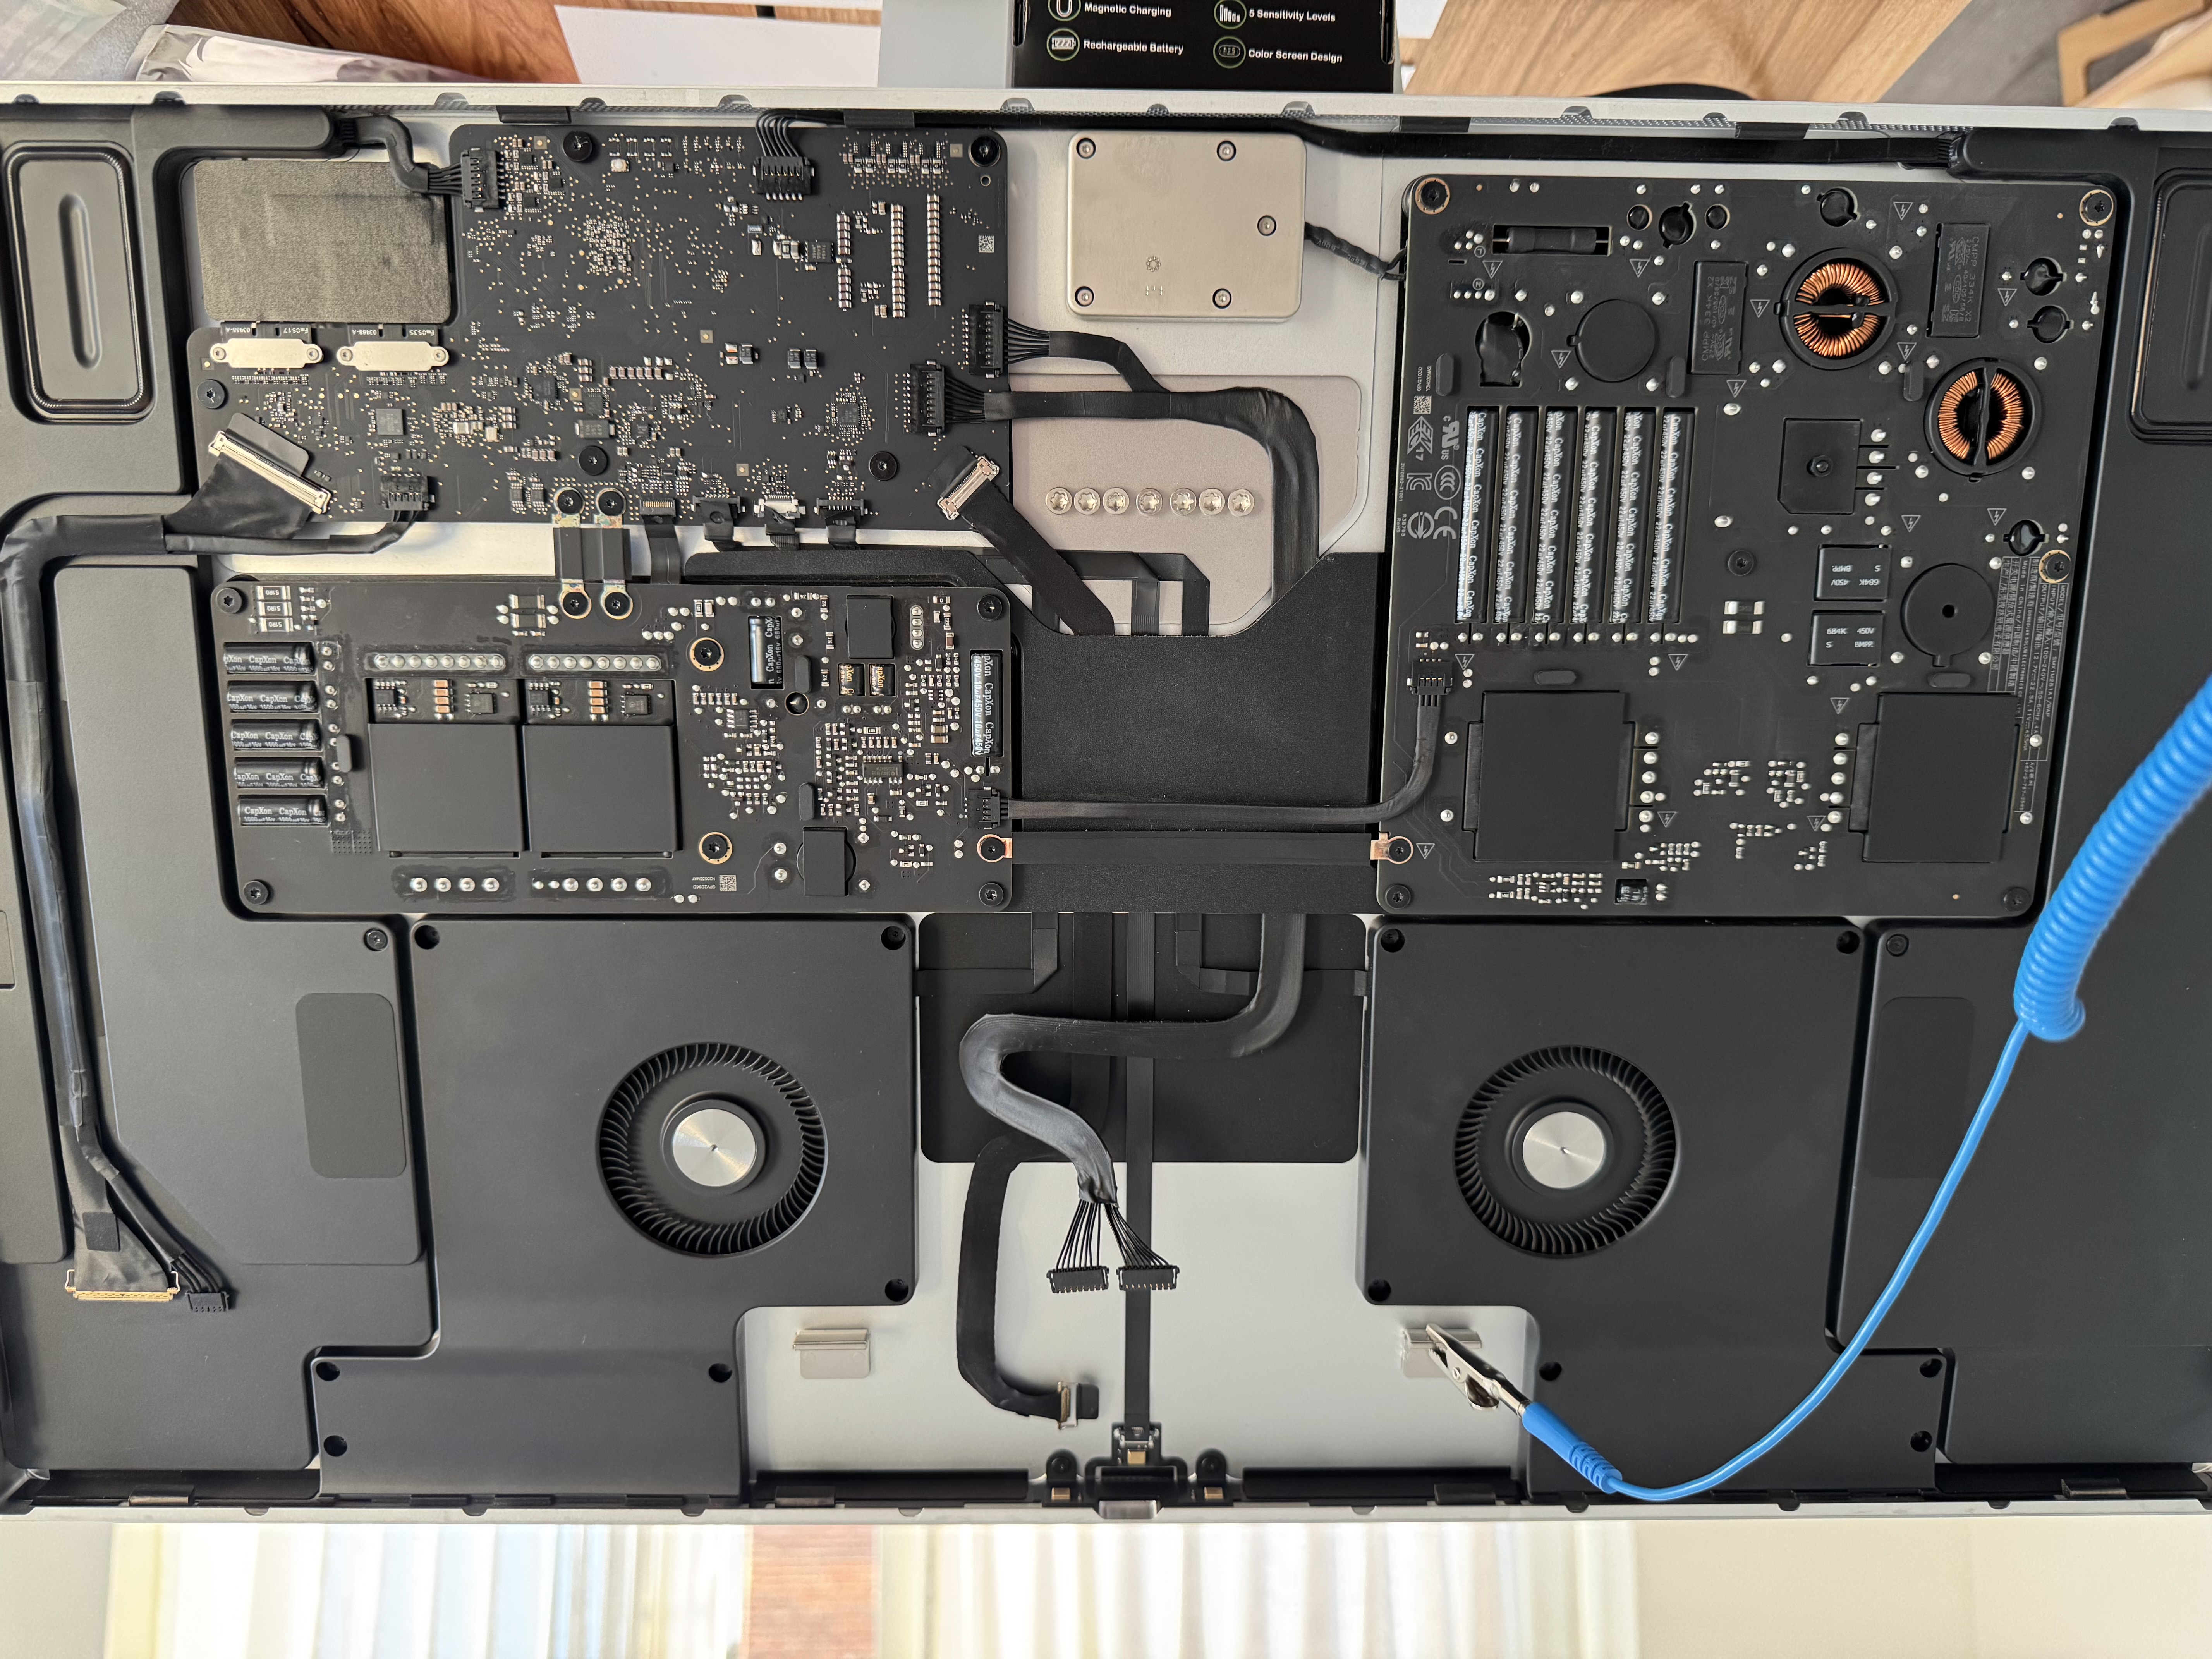
In order to replace the Logic Board, you must first remove the USB C controllers, located on the bottom left of the enclosure.
The Board itself has about 13x connectors, and several screws. Although it looks super complex, it’s nothing more than an oversized iPhone (it literally has its own CPU!).
When manipulating these boards, always bear in mind that you might be electrostatic charged, and ideally you’d use one of those wrist bands to share the same ground.
System Configuration
Before applying the glue, I’ve connected everything and tried turning things on, just to make sure I did a good job.
Apple locks up critical repair parts by Serial Number, so there’s a configuration step you need to go through, where they’d request:
- Repair Parts Order Number
- Display’s Serial
- Old Logic Board Serial Number
The entire process takes about ~15 minutes, and is documented in the Repair Manual, you’ll need to install the Apple Service Utility macOS app.
Once everything is setup… make sure the frontal camera, microphone and display work correctly, before applying the glue.